|

(1)
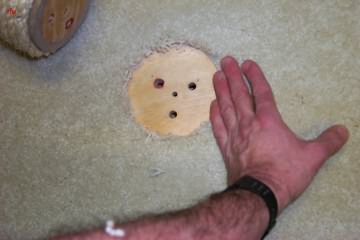
(2)

(3)
Push any loose fibers away from the center of the before attaching
posts. Please note that the lower post now has one hole instead
of three, so that this post can be inverted when it is worn down on
one end from scratching activity.
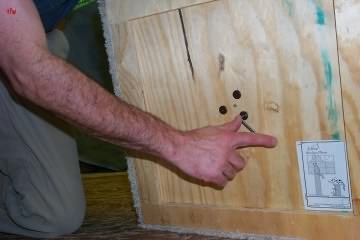
(4)

(5)

|
|
(6) Insert threaded rods so that half (about 2") is sticking
out (exposed)
|
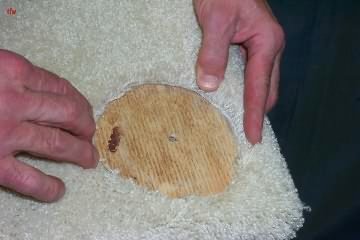
(7)
|

|
|
(8) Gently insert the first level over threaded rod.
|

|
|
(9) Turn second post onto threaded rod, trying to exert minimial
downward pressure on the rod. This will prevent any loosening
of the connection hardware inside to components. When the post
is snug (not spinning easily), stop turning.
|

|
|
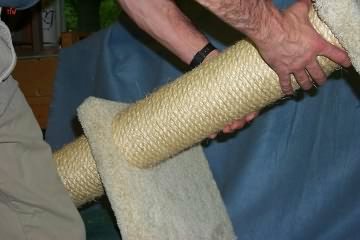
(10) Insert another rod, and remaining platform.
|

(11)
|
|
(12) Turn top post (final platform is attached to it) onto
the rod. It would help to have some assistance on this step,
& is recommended that you have the structure in a vertical
position ( as opposed to horizontal ). Try to turn it without
exerting any sideways or heavy downward pressure on the components.
This will avoid damaging the connection between the interior
hardware and the wood plugs. When it is snug, adjust the levels
as shown below, so the unit will be balanced. Again - please
avoid tightening everything too much. These components will
settle in together. It is suggested that you place this piece
in a corner, or at least by a wall. This will minimize any accidents
caused by reckless or out of control cats. To compensate for
an uneven floor, you may wish to place the entire tree on a
very low nap rug or throw rug.
|

(13)
|